You spend months thinking about and prepping your project during pre-production period. You wrote the project or created it. You have a handle on it or are steering the ship. Momentum is building. You survive the shoot and now you enter the post-production phase. You have a years worth of blood, sweat, and tears on a hard drive. You need to find an editor
You look at some editing reels and the editor you think is perfect is $650 a day your total budget for the edit is $500. You talk to several editors to try and get them excited about your project in the hopes they will join the team. I am going to stop right here. Put yourself in the editor’s shoes, you want them to edit for little or no money and to start off that relationship you’re going to hand them a hard drive with three terabytes of raw footage that contains a bunch of folders that say, Card 01, Card 02 and contains numerically labeled shots. That is hardly enticing, in fact, its a deterrent.
Here is a simple way to get an Editor excited about working on your project. You want them to be able to dive right in. You are going to prep the drive. First, create a series of folders. The main folder will be the project name, the title of the work. Within that folder create subfolders. Number them as follows: 01_project, 02_Media, 03_Music, 04_Audio, 05_GFX, 06_Docs, 07_Stills, 08_Assets, 09_Exports.

Now move all your media into the 02_Media folder. If you record audio separately move that into the 04_Audio folder. Add a copy of the script into the 06_Docs folder. If you have storyboards put a copy there. If you have ideas for music put those in the 03 Music Folder.
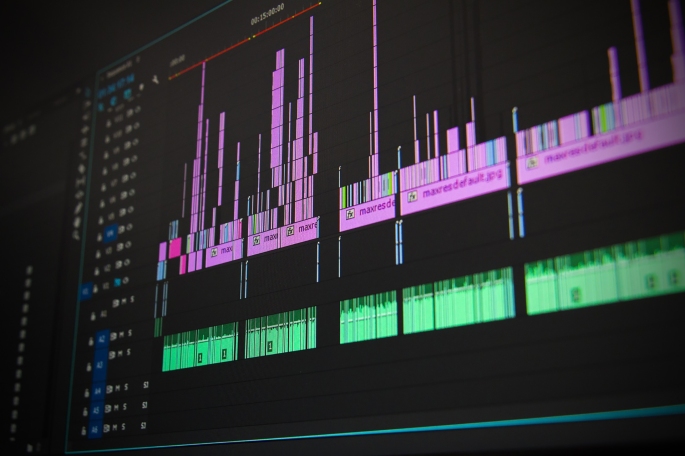
This next step is what will really help you entice an editor to start on the project. Set up the project in the editing software and make selects. Most likely you will be using Final Cut, AVID or Adobe Premiere. As of now, the most predominant DIY platform is Adobe Premiere Pro CC. If you don’t own it you can get started for under $20 a month. Whichever platform you choose the steps are the same and very similar to the project folder structure. In your chosen editing platform create a new project. In the project create a series of folders. 01_ Sequence, 02_Media, 03_Music, 04_Audio, 05_GFX, 06_SFX, 07_Titles, 08_Misc. Next, import your footage into the project. Media into the media folder, Audio into the audio folder, etc.

This next step will really go a long way. Create a New Sequence in your project and call it selects. Start to watch all your raw footage and “select” your preferred takes and pull them into the timeline. Perhaps you like two, just pull them both. Creating a sequence and making selects is very simple. If your not comfortable or familiar with the editing platform at all a few google searches will guide you through this basic process.
Alternatively, if that seems too involved or beyond your time or abilities. At the very least Set up the drive with the folders and create a paper edit. Create a document and assign a brief description of each Footage Card and Contents. Then Do a paper edit. Watch the footage in a viewer such as Quick-Time. Make your selects that way. Create a new document, split the page into two columns. On the left will be the script, On the right will be your notes and your ‘Selects” If the script says, ‘Mary Enters, speaks to Bill. Mary: Hi Bill!” That will be in the left column in the right will be the shot into something like Mary Enters Card02, IMG-0190.mp4 at 03:04. And just map the whole script out with your selects.

The point of all this is to present the editor with a project they can jump right into. If you present an editor with a low rate and terabytes of raw footage they will politely pass. If you talk to an editor excited about the possibilities of the project with specific examples from media you’ve already organized and prepped you have a reasonable chance to get them just as excited about being a part of something. If you don’t have the money to invest you simply need to invest your time. Sharing the time investment with the editor rather than laying it all on them will encourage talented people to join you. Last I should mention be sure to make a backup of the drive and its contents and store that away safely.
For more tips and shared experience visit our youtube channel Create Sci-Fi with plenty of informative videos on creating content.